A phone with offline maps is wonderful until the battery dies or the route disappears into a cloud. The skills in this article are the ones that keep you found with nothing but paper and a compass, and they work the same on a Lake District fell as on the Alta Via. We tested every rule on a 1:25,000 sheet over a wet weekend in Langdale.
Scale and contour interval
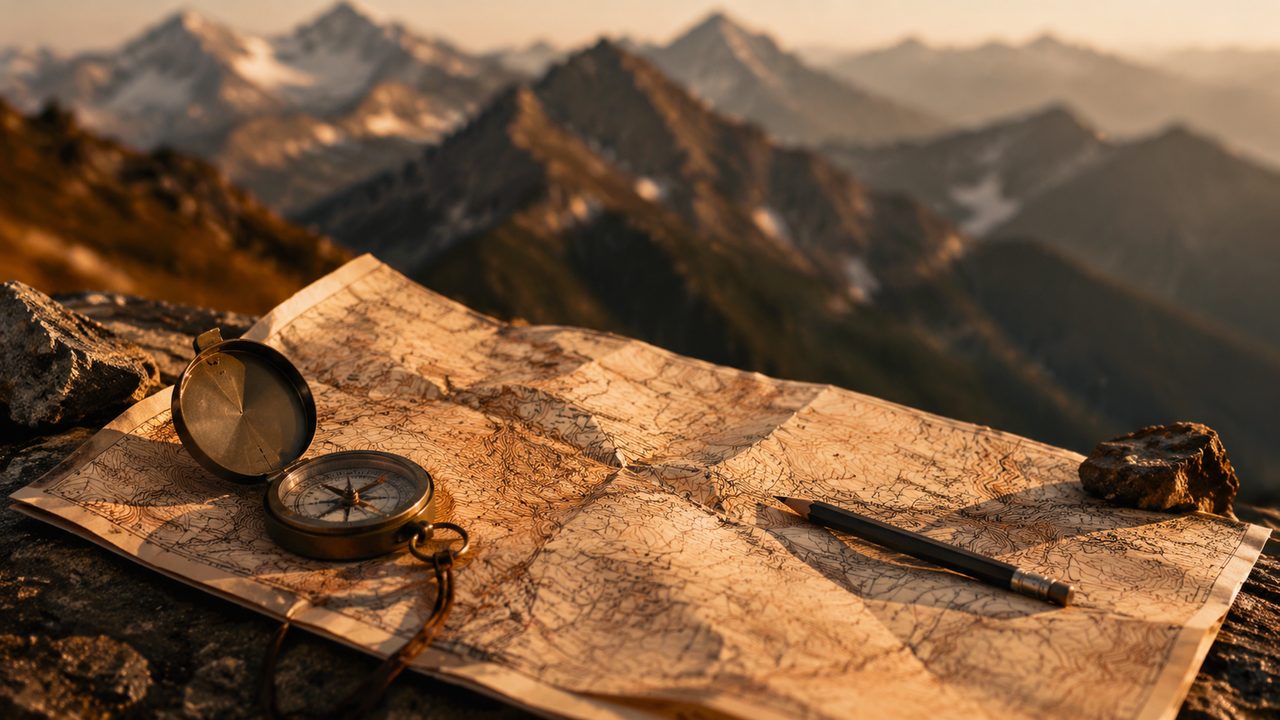
On a 1:25,000 map, four centimetres equals one kilometre on the ground. That is the sweet spot for walking: steep ground, crags and footpaths are all drawn in enough detail to follow. The contour interval — the vertical distance between each brown line — is usually 10 metres, and on mountain maps it can be 5.
Every fifth line is an index contour, drawn thicker and labelled with its height. Learn to read those numbers first: if you know the index contours around you, you always know roughly how high you are.
Reading the shapes
Contour lines that form tight V-shapes pointing uphill into a valley are watercourses — follow them up and you reach a stream source or a pass. The same V-shape pointing downhill marks a spur or ridge. Concentric rings mean a summit; rings with small inner ticks mean a hollow.
Practise on a hill you know. Pick a familiar ridge, find its shape on the map before you walk, then compare the map to the ground every twenty minutes. Within a day the symbols stop being abstract.
Symbols that matter
You do not need every symbol, just the ones that change decisions: crags and scree drawn as black cliff ticks, springs and wells as blue ticks, marsh, forest boundaries, and the green dashed line that marks a right of way. Also learn the spot heights — small black numbers that give a precise elevation check between contours.
Read the map legend before you set out. The same symbol set runs across the Ordnance Survey's 1:25,000 sheets, so one careful reading lasts a lifetime of walking.
Grid references and bearings
A six-figure grid reference describes a 100-metre square: three digits east, three digits north, read from the grid lines. Practise on the map's margin, and always read east first, then north. When you phone someone with your position, a six-figure reference is worth a thousand words.
For a bearing, place the compass along your route on the map, rotate the housing to align with the grid, then hold the compass level in front of you and turn your body until the needle sits in the gate. Adjust for magnetic declination — a few degrees in the UK, more elsewhere — and trust the number, not the feeling.
Timing your day
Naismith's rule is the classic estimate: allow one hour for every five kilometres of horizontal distance, plus one minute for every ten metres of ascent. A 12-kilometre stage with 600 metres of climbing, for example, comes out at roughly 2.4 hours plus one hour, so plan for about three and a half.
The rule is a starting point, not a promise. Wet ground, heavy packs and photo stops all add time; after a day or two you will learn your own correction factor and start planning with it.
Practice beats theory
The real lesson is that map reading is a habit, not a talent. Take the map out at every junction, fold it to the section you need, and let the terrain answer the map's questions. When you can look at a contour pattern and picture the ground before you arrive, you are no longer lost — you are just early.
And keep the paper map anyway. Batteries are the only thing in your pack with a shorter lifespan than good weather.